There are time when the procrastinating has to stop and you just have to start again!
Four years ago I started to record our plans and progress in setting up our place in the Sunshine Coast hinterland. There were a few posts – not really enough to provide a reasonable overview – and then they stopped altogether.
What happened? The short, and easy, answer is that we have been busy. It is, however, all a matter of priorities and the fact is, while I have frequently thought that something going on would be of interest to others in the same situation and worth a post, I simply haven’t given it the priority it needed to create a blog post. So I have changed the priorities.
A quick summary of where we are now. I left off with the construction of a causeway on our (then) new 500 metre driveway/road. The driveway/road did everything expected of it and, while it could probably do with a bit of work, it still performs its function. There is now a very comfortable and pretty stylish house set about halfway up the block on the side of the hill.
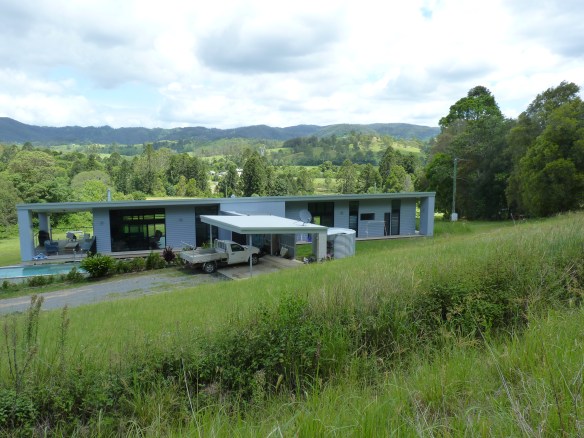
Looking down on the new house
There are a lot of stories that could roll out about that project but I will leave them to one side at the moment. Enough, for now, to note that it didn’t involve us in a tremendous amount of actual physical work (I sorted that by breaking my ankle when it looked like I might have to do a bit) but it did swallow up most of our time and interest for the best part of a year.
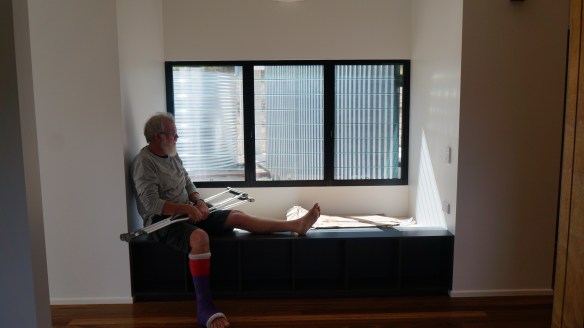
Contemplating the new house (broken ankle on show)
A key part of our plan for development of the block has been to use permaculture principles and operate organically. While there has been some action consistent with these principles, the actual development has been frustratingly slow. There are now a number of swales constructed across the contours of the hill below the house. These have been planted with a variety of fruit and nut trees, interspersed with some acacias and allocasuarinas. I intend to explain in more detail how and why this has been done at some stage but, in brief, the aim of the swales is to counter the effect of the heavy clay soils in the area by providing deeper top soil, better drainage and, at the same time, the best possible supply of water to the fruit trees.
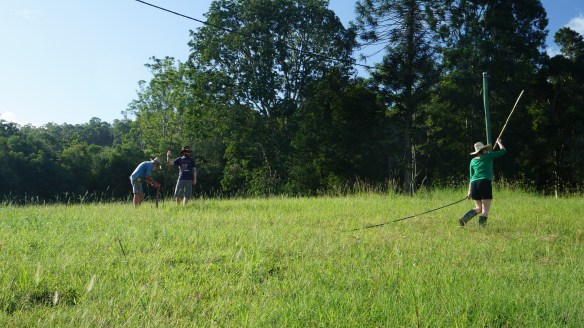
Getting the levels right for the swales (hose and coloured water method)
The acacias and allocasuarinas are nitrogen fixers. Their roots will assist in fixing more nitrogen in the vicinity of the root systems of the fruit trees. Their pruned branches will be left to rot down on the swales, delivering further nitrogen to the swales. Over time, these interspersed trees may need to be removed completely to give the fruit and nut trees room to expand.
A dozen or so assorted citrus have been planted out in and area that has reasonable soil and also receives frost, whenever we get one here. We have spent a bit of time researching the appropriate chill factors for the various types of fruit trees we would like to have. If we have it right then there will be a pretty good supply of oranges, lemons, mandarins, yuzu and grapefruit at appropriate times of the year.
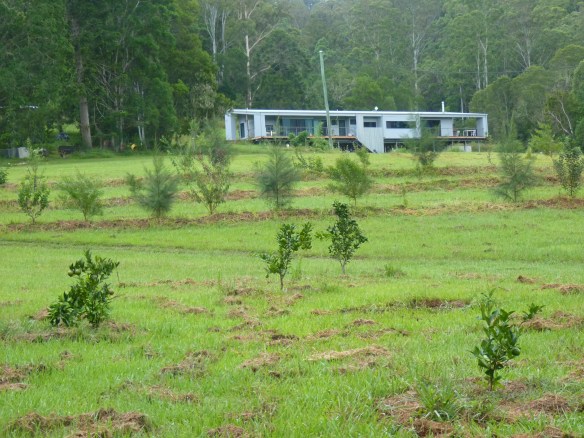
Citrus in foreground, house in the background and allocasuarinas on swales in between.
More swales will be developed specifically for avocados. These particular swales will provide deeper and better top soil and allow better drainage – conditions that avocados appear to enjoy. There will also be more other fruit trees planted. We have had a few losses in the first plantings and these need to be covered.
Next spring I intend to start planting out a bush food area with trees and shrubs. There are already some around but I am getting together a list of those that do well in these conditions.
Wildlife corridors are also under development. We have planted 300 trees using a Land for Wildlife grant this year. We planted over 250 last year, all natives endemic to the area, (but not with a grant from Land for Wildlife) but lost over a third of these. Lessons have been learnt. This year I have planted in autumn following, and during, good rain and I have used bio-degradable corflute type tree guards rather than the plastic ones I used last year.
Based on our experience of last year, we should have a better success rate with this approach. The plastic slip type tree guards were not sucessful in this environment. They seemed to overheat some of the seedlings and I could never spot the things from the tractor. The new ones are bright pink, made of stronger material and assist in establishing a suitable micro-climate for most of the trees I am planting. They are 3 times the cost of the earlier ones but reusable a few times.
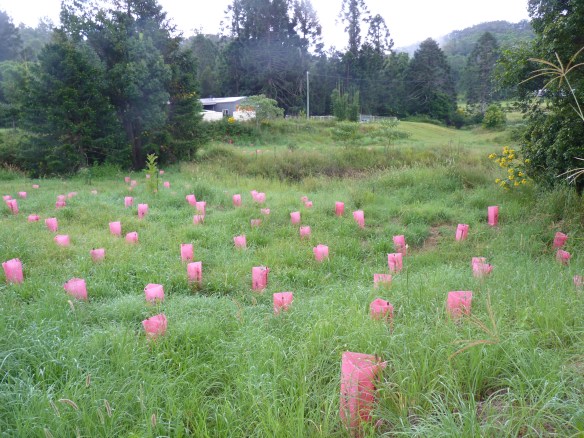
Some of the reveg trees with their pink guards.
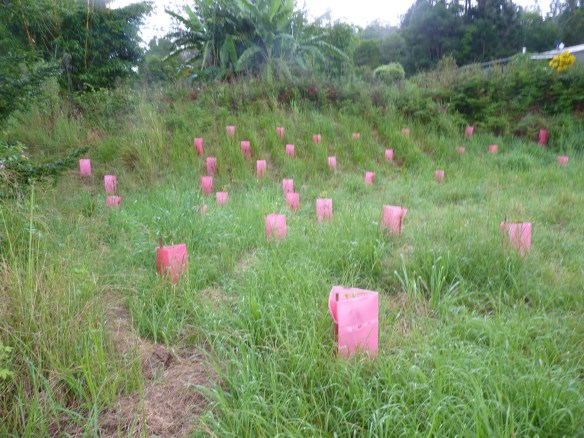
More reveg trees marching up the side of the gully.
Some equipment has come and some has gone. The East Wind tractor went to a new home – for a better price than I had thought I might get – and has been replaced by a slightly larger and, much more reliable Kubota. A Tree Popper has arrived and is being used frequently in weed removal. More on that in a later post. The old Simplicity mower has, possibly, come to the end of its useful life and has been replaced by a smaller Greenfield. There are now 2 brushcutters, his and hers.
The old tractor helped with the stabilising for this battered bank (which is actually steeper than it looks in the photo).
A new shed has been constructed, but, unfortunately, not yet completely finished. This will be a workshop for both of us and will have a section for home brewing and such things. Another shed will be built this year to house machinery and equipment. Two shipping containers are now in place up on the hill in striking distance of the house. These are for storage for us and the family.
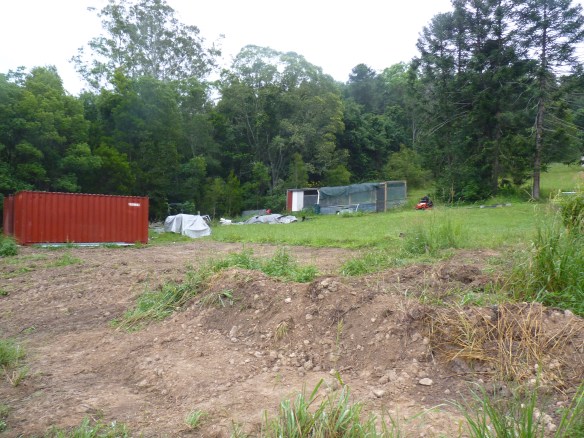
Storage on the left and chooks on the right.
The only animals that we have – apart from the birds, wallabies, dingos, snakes, many, many small marsupials and the inevitable rats and mice – are chooks. There is now a Barnevelder rooster and a couple of Barnevelder hens along with a few of the crossbreed, commercial type ones we have had for a while. There will be more animals this year.
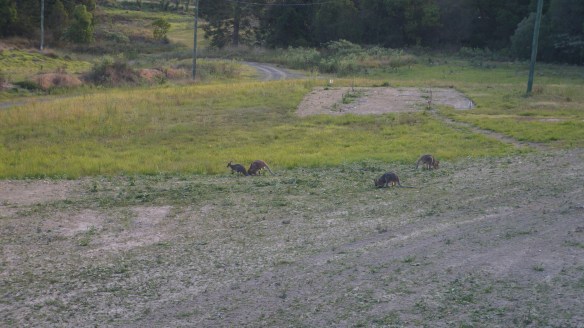
Not long after moving to the new house. The wallabies don’t need to wait for complete wildlife corridors.
Now there is a bit more green but no wallabies this morning.
The shed that we used to live in has changed. It is now fully insulated and lined with internal walls to create three bedrooms and a study, lots of lights and nice white paint. There are now more windows to let in light. A sky light is waiting its time to go in to assist in providing light, particularly during the winter. That shed has its own shed that incorporates a shipping container for lockable storage.

The big shed, aka our old house
We always had a thought that it might be possible to let the shed out to someone who could have a comfortable residence there and who would also keep an eye on the place while we travel. That has been a successful plan and we are now on the road again. Not for years this time, just a few months.
So it will be a while before there is a new post in this series. There will, however, be some posts as we move through Ireland, Greece, the United Kingdom and, just possibly another place or two. You can find those entries over at http://www.travelblog/slowfeet
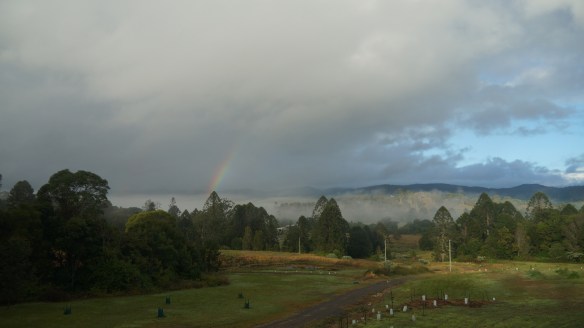
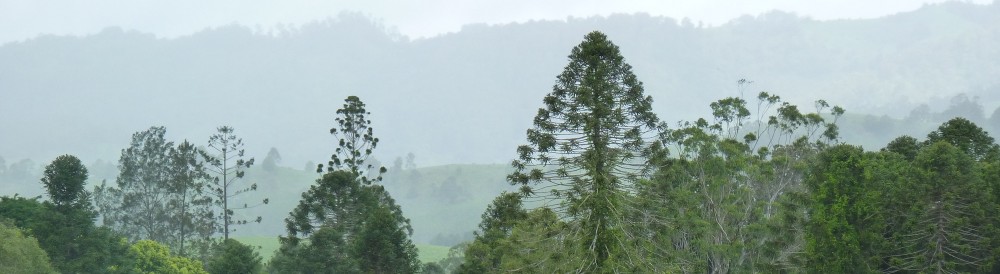
Rainbow in the valley
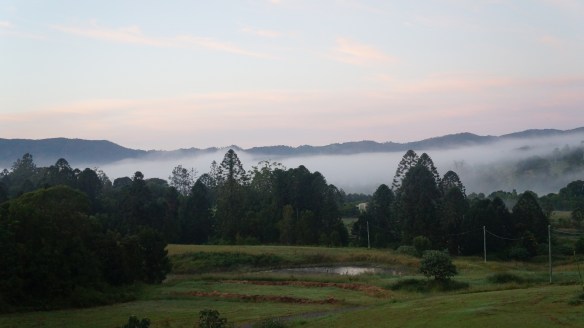
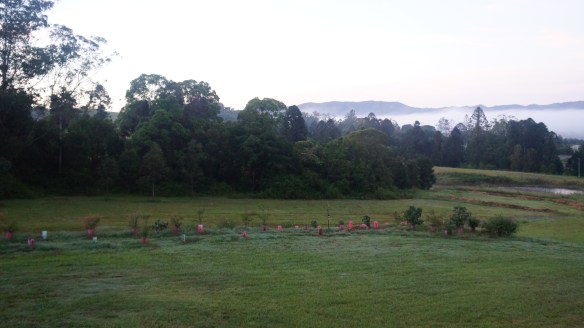
Early morning looking over the dam
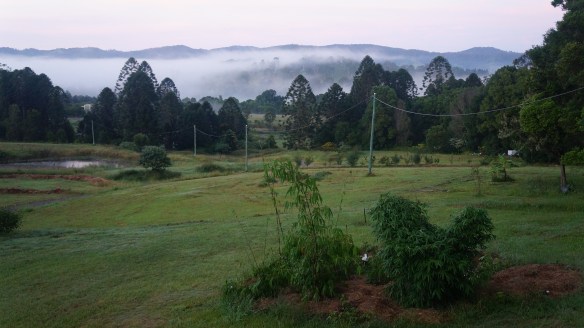
Same morning, same dam from bedroom this time
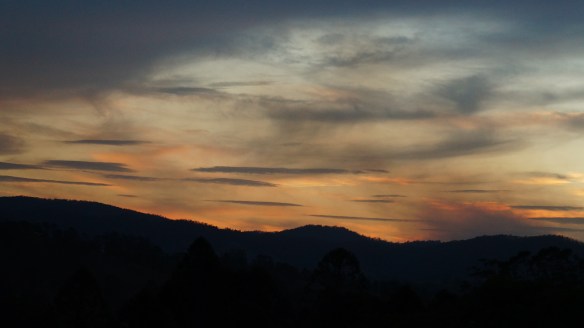
Sunset after the storm – looking across the valley


